I am in no ways an expert at sourdough! But I have been practicing for about a year now and trying to get better at it and if it’s something you are interested in, you may be interested in this post.
I’ve shared my successes and failures on this blog many times. There have been times when the bread didn’t rise. When it was a weird shape. When it taste great but didn’t look great. When it looked great but didn’t have the right flavor. It was all practice practice practice.
I really like this book and highly recommend it:
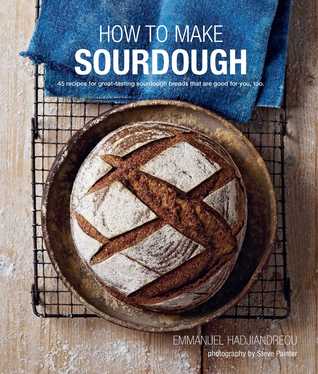
Why I like this book is because it gives step by step instructions WITH PHOTOS. I am a visual person and it helps a lot to see the photos for each step of making the bread–even each step of kneading the bread and rising, etc. Once I started using the sourdough recipe in this book, I got much closer to the right sourdough loaf I was looking for!
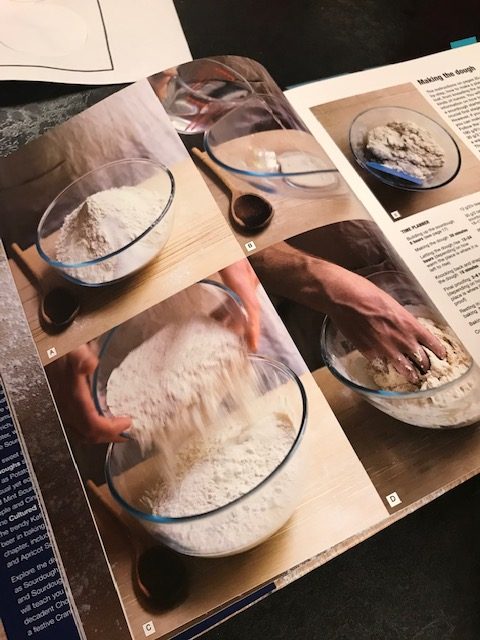
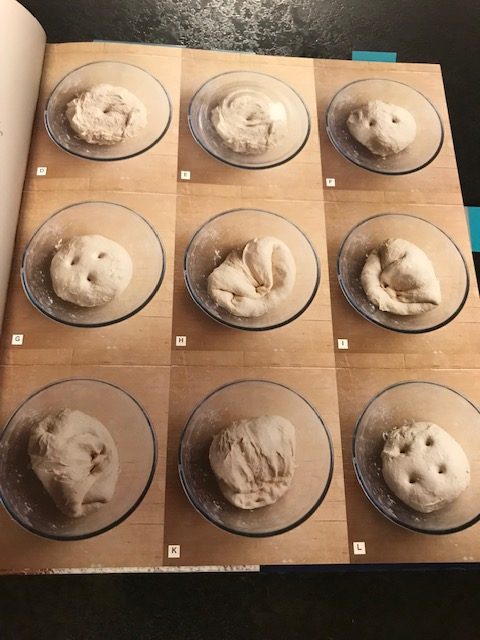
The book has a ton of other recipes in there, too. I have tried one of the other recipes in there (the rosemary raisin sourdough) but unfortunately my bread didn’t rise so it didn’t bake properly. It ended up in the trash. Bummer! More practice on that one.
One of the biggest things that helped with making sourdough was weighing the ingredients with a food scale instead of measuring out the ingredients in cup measurements. Weighing the dry ingredients in grams was a game changer.
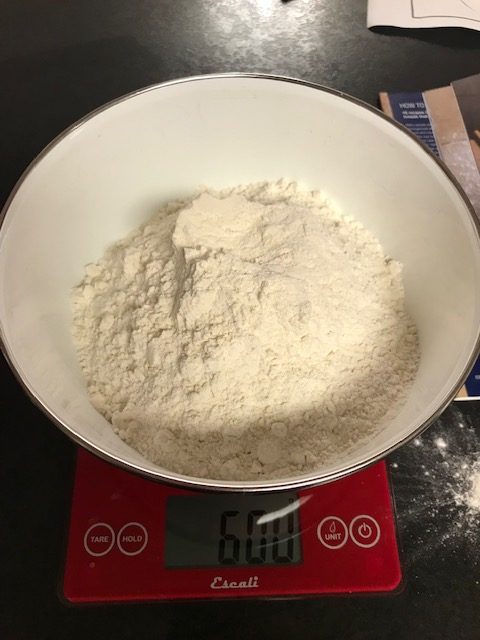
Also, I suggest using bread flour instead of regular flour. I definitely recommend Bob’s Red Mill! It’s local for us and we have access to their store, which is nice, but you can get it online if you don’t live local. I love their products!
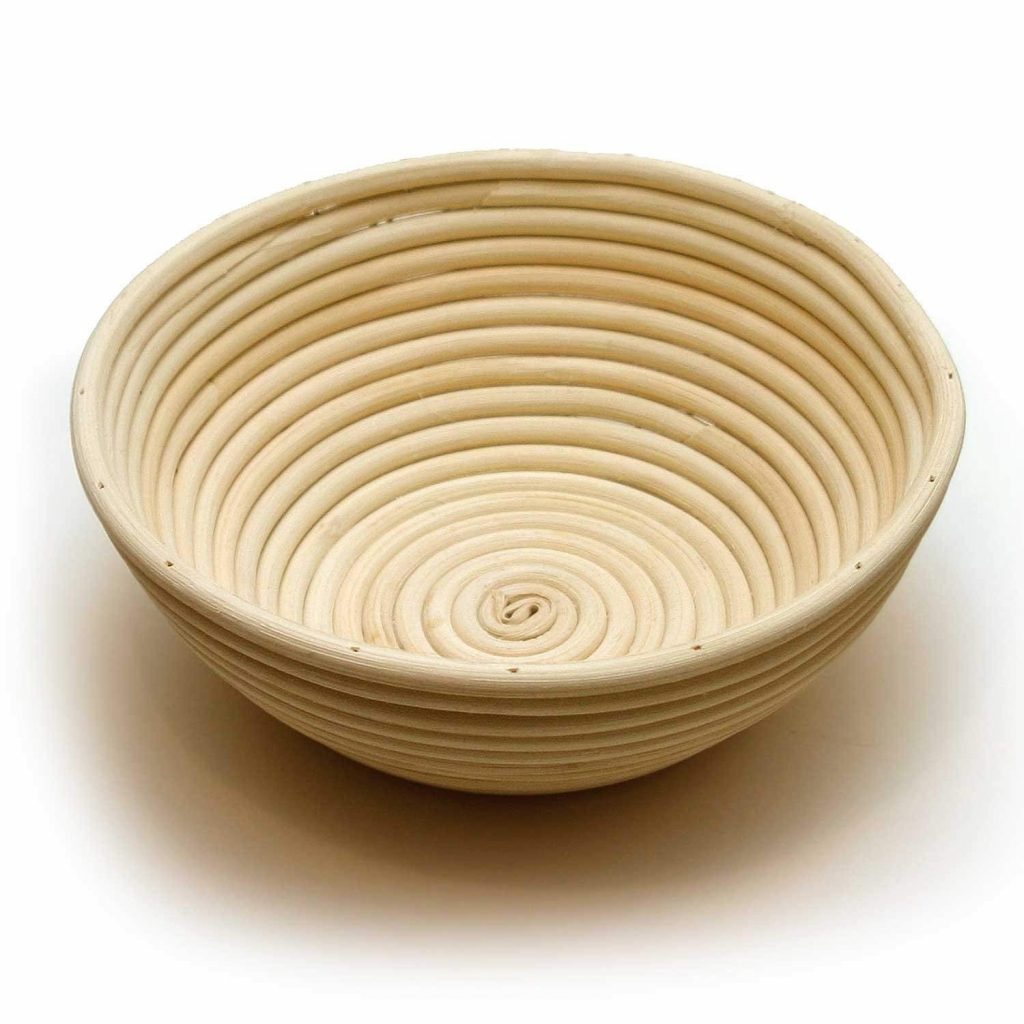
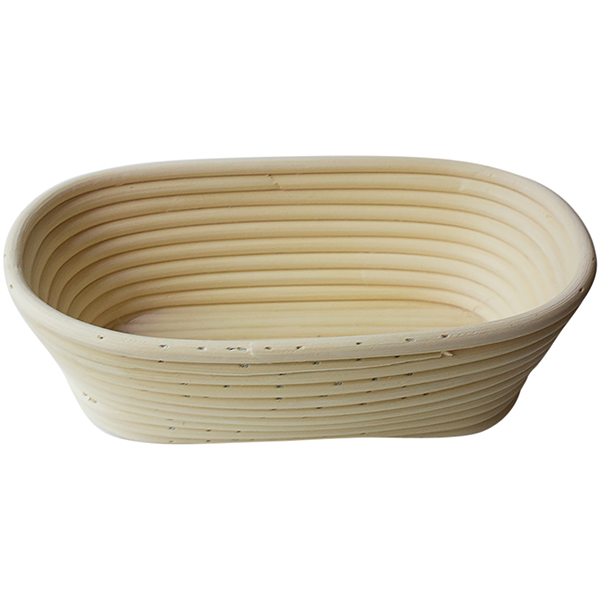
Other than that, the only other thing you need is the proofing basket:
Banneton Proofing Basket – Round
Banneton Proofing Basket – Oval
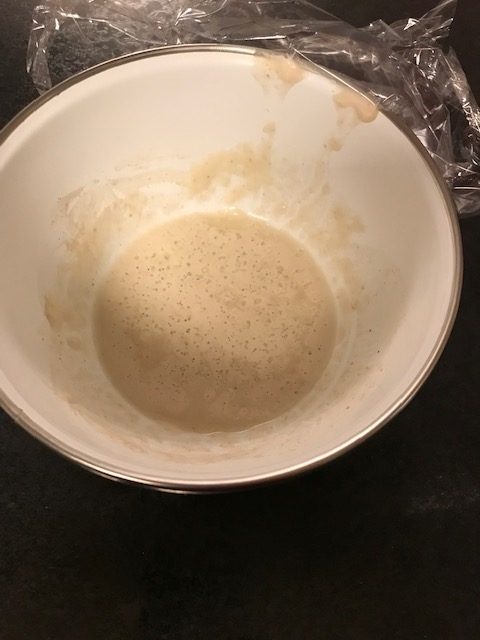
A few days before I’m going to make the sourdough, I take some starter out of the fridge and put it on on the counter and “feed” it every day (just a little bit because you don’t need a lot of starter for the recipe).
Then the night before, I make the dough and knead it, then let it rise over night. The next morning, it should double in size. The day I’m going to bake the bread, I knead the loaf again, shape it a bit, and then put it in the floured banneton. This particular time it was slightly deformed on the bottom but no big deal because that will be the bottom of the bread and it will flatten out.

I turn the oven on to 200 degrees then TURN THE OVEN OFF. I cover the banneton/loaf and put it in the oven for 2-6 hours, checking it frequently to see how it’s rising.
Then it’s time to bake! I use a Dutch Oven to bake it. First I put some cornmeal on the bottom of my Dutch Oven. Then I turn the banneton upside down and dump the dough into it. Then I make the slashes on top with a razor blade. I put the the lid on the Dutch Oven and bake it at 425 degrees for about 45 minutes and then check it.
I usually end up baking the bread for a little over 60 minutes.
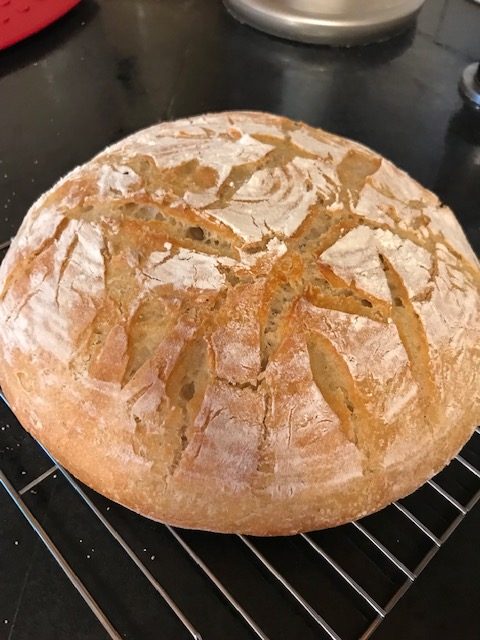
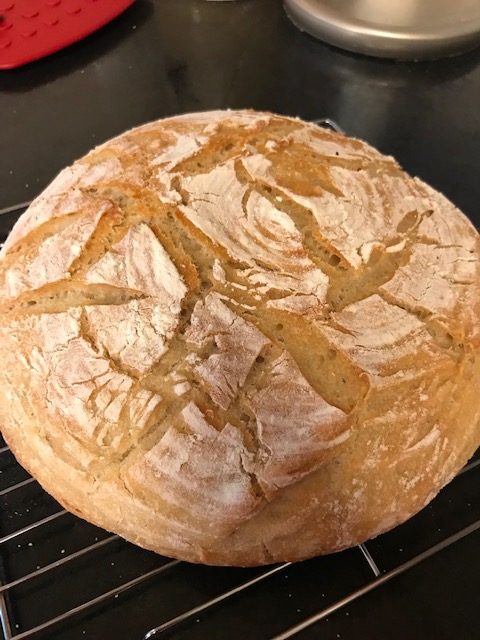
This particular loaf of sourdough gave me some grief. It didn’t rise as much as it usually does overnight. Not sure why–maybe the dough was too wet? Who even knows. It’s always a mystery as to why sometimes it’s perfect and round and amazing and sometimes it’s a little flatter.
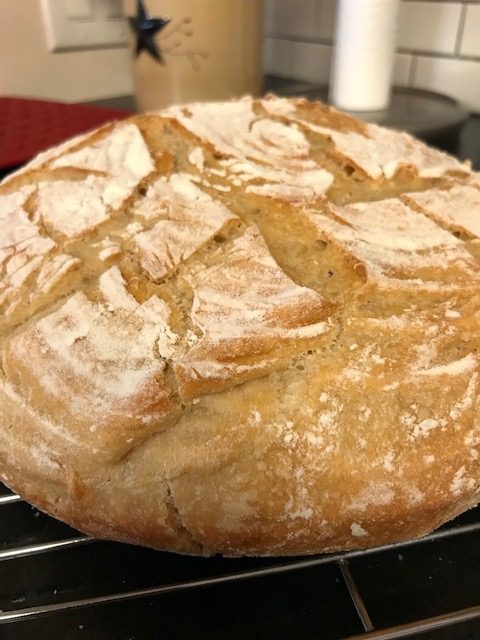
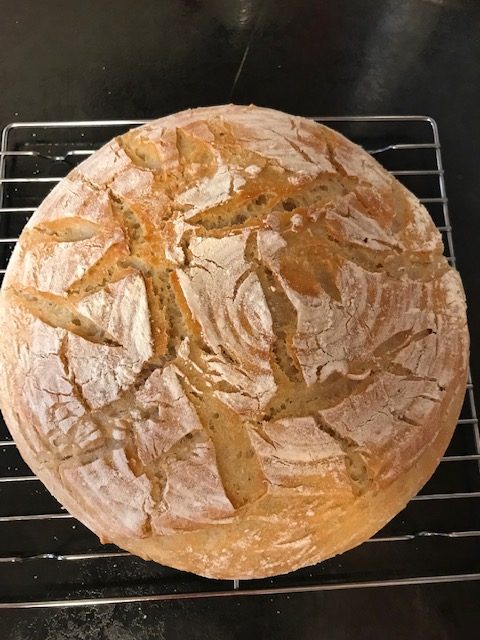
But the bread cooked well and it tasted okay. So that’s always a success.

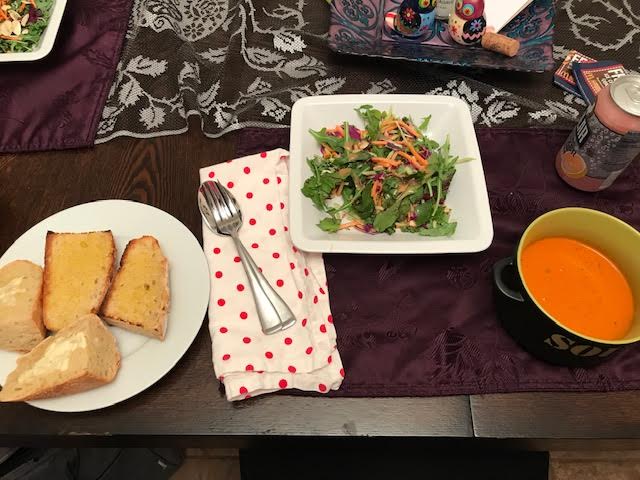
Dinner was tomato bisque with the sourdough and salad. It was delicious!
QUESTION: Are you a bread baker? Any tips? Favorite bread recipes? Share!
Lori
Yummy! I like to bake bread, but it’s so hard to find a block of time where I can actually make a whole loaf from start to finish. I have used the Artisan Bread in 5 minutes technique, which does make good bread, but more starter dough than I want to have around. I don’t actually eat a ton of bread other than bagels.
I had fun with my sourdough starter until it got contaminated. It’s been a few years, so I should try again.
Lisa Eirene
Have you ever tried to make your own bagels?